Who says creamy, delicious pudding needs to rely on dairy? If you’re looking for a rich, smooth, and perfect dessert for any occasion, dairy-free pudding is the answer. Whether you prefer lactose-free recipes or avoid dairy for health reasons, there’s no need to sacrifice flavor or texture. Once you try it, you’ll wonder why you didn’t switch sooner!
Curious about how to make dairy-free pudding? It’s easier than you think, and with so many milk alternatives available, you can whip up a delectable treat in no time. There are endless possibilities, from silky chocolate to refreshing vanilla. Let me walk you through everything you need to know about dairy-free pudding.
Why Choose Dairy Free Pudding?
What makes dairy-free pudding a fabulous dessert? Let’s discuss. You don’t have to worry about stomach upset or allergic reactions if you have lactose intolerance or dairy allergies. When you cut back on dairy, you can try lighter, plant-based options that still taste great. Dairy-free pudding is also incredibly versatile.
Switching from traditional milk to plant-based alternatives like almond, coconut, or oat milk can give you new tastes and textures. You can easily control the sweetness and adjust the ingredients to match your dietary needs. Whether you’re vegan, paleo, or just experimenting with cleaner eating, this dessert has your back!
Ingredients to Create Creamy Dairy Free Pudding
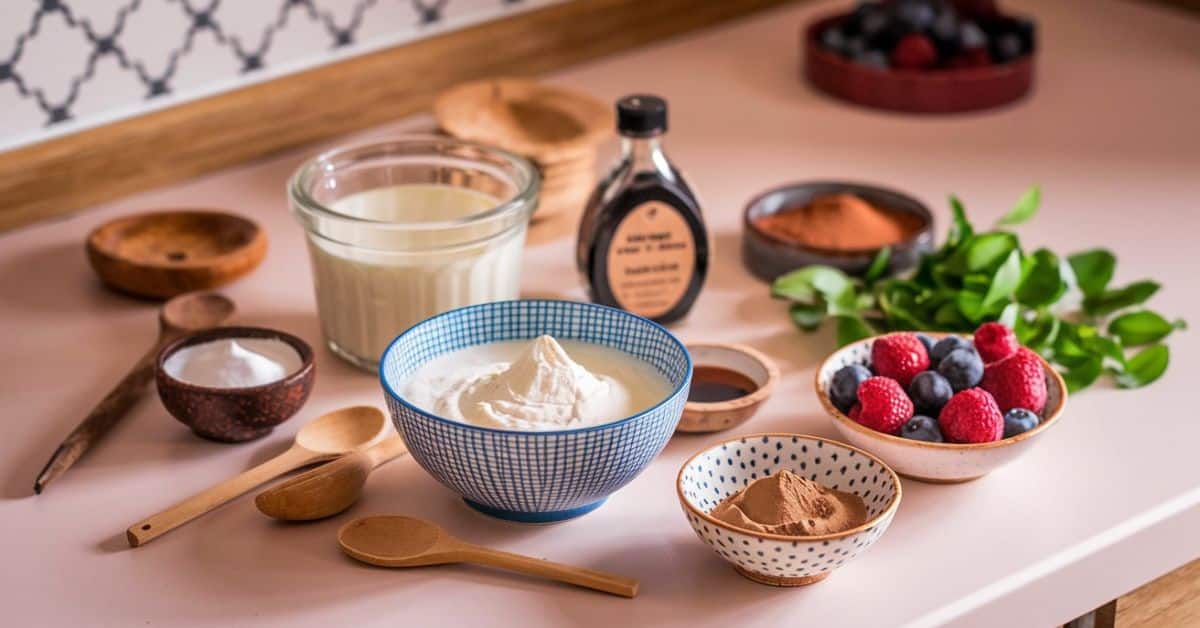
Making the perfect dairy-free pudding starts with the right ingredients. You don’t need anything fancy-just a few staples, and you’re ready to go.
- Plant-based milk (e.g., almond milk, coconut milk, oat milk)
- Cornstarch (or tapioca starch)
- Natural sweeteners (e.g., maple syrup, agave, or honey)
- Vanilla extract
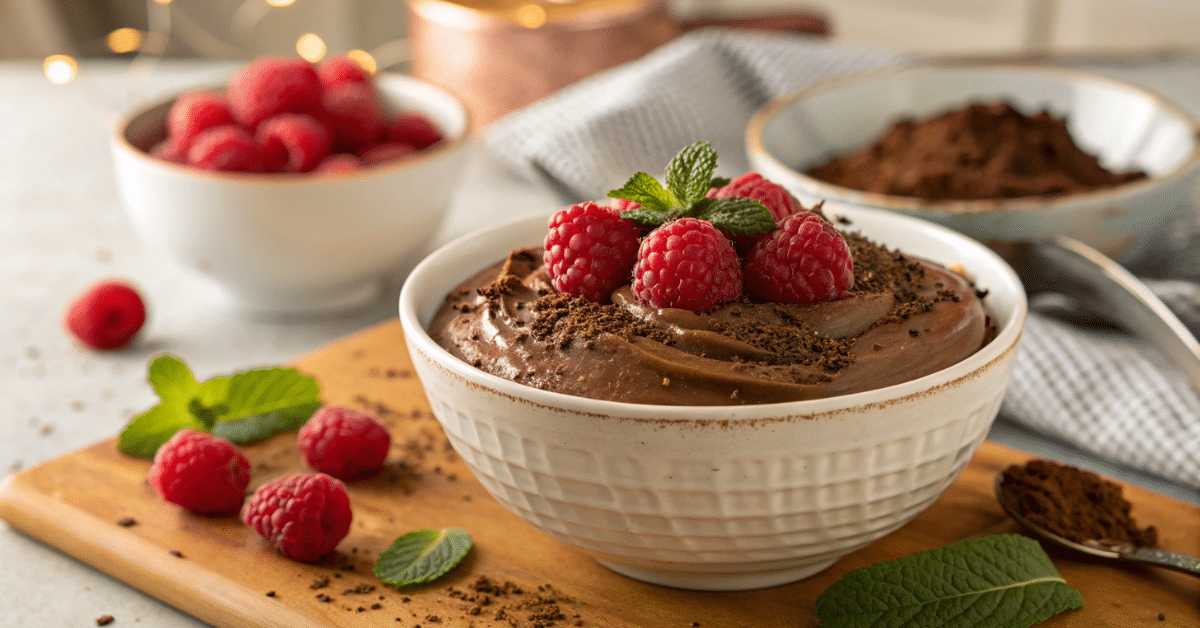
- Cocoa powder (optional for chocolate pudding)
- A pinch of salt
You can whip up a creamy, delicious pudding using these simple ingredients in no time!
How to Make Dairy Free Pudding
Do you want to make the creamiest, dreamiest dairy-free pudding? Follow these simple steps; you’ll have a delicious, easy dessert in no time.
Step 1: Gather Your Ingredients
Before you start, make sure you have everything ready. You’ll need plant-based milk (almond, oat, or coconut), cornstarch, a natural sweetener (maple syrup or agave), vanilla extract, and optional cocoa powder to go chocolatey. Having everything measured out and within reach makes this process so much smoother!
Step 2: Mix the Cornstarch Slurry
Combine 2 tablespoons of cornstarch in a small bowl with a few tablespoons of your chosen plant-based milk. Whisk it together until smooth, with no lumps. This mixture will help thicken the pudding and give it that nice, creamy consistency we all love!
Step 3: Heat the Milk and Sweetener
Next, grab a medium saucepan and pour 2 cups of plant-based milk into it. Add your sweetener: About 2-3 tablespoons of maple syrup or agave should do it (but adjust to taste). Place the saucepan over medium heat, stirring occasionally until it’s warmed. Be sure not to boil it; just a gentle heat is perfect.
Step 4: Add the Cornstarch Slurry
Once your milk mixture is heated, it’s time to add the cornstarch slurry. Slowly pour it in while stirring constantly. You’ll see the pudding start to thicken, and it’s truly magic! Keep stirring until it reaches a smooth, creamy texture.
Step 5: Add Flavor
Now comes the fun part: flavoring your pudding! For a classic pudding flavor, stir in 1 teaspoon of vanilla extract. Whisk in 2 tablespoons of cocoa powder if you’re making chocolate pudding.
Step 6: Thicken and Set
Keep cooking the mixture over medium heat while stirring constantly. It will gradually thicken, which usually takes 5–7 minutes. Once it reaches your desired pudding consistency, take it off the heat.
Step 7: Cool and Serve
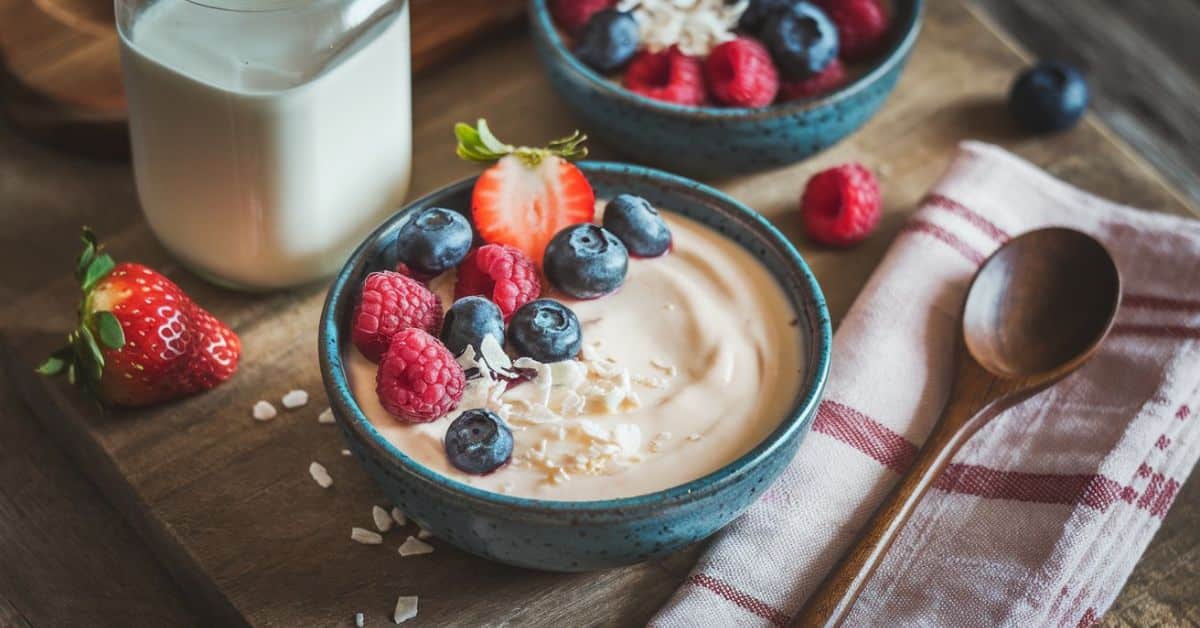
Transfer your pudding to serving bowls or cups and let it cool. To prevent skin from forming on top, lay a piece of plastic wrap directly on the surface while it cools.
Step 8: Enjoy and Top It Off
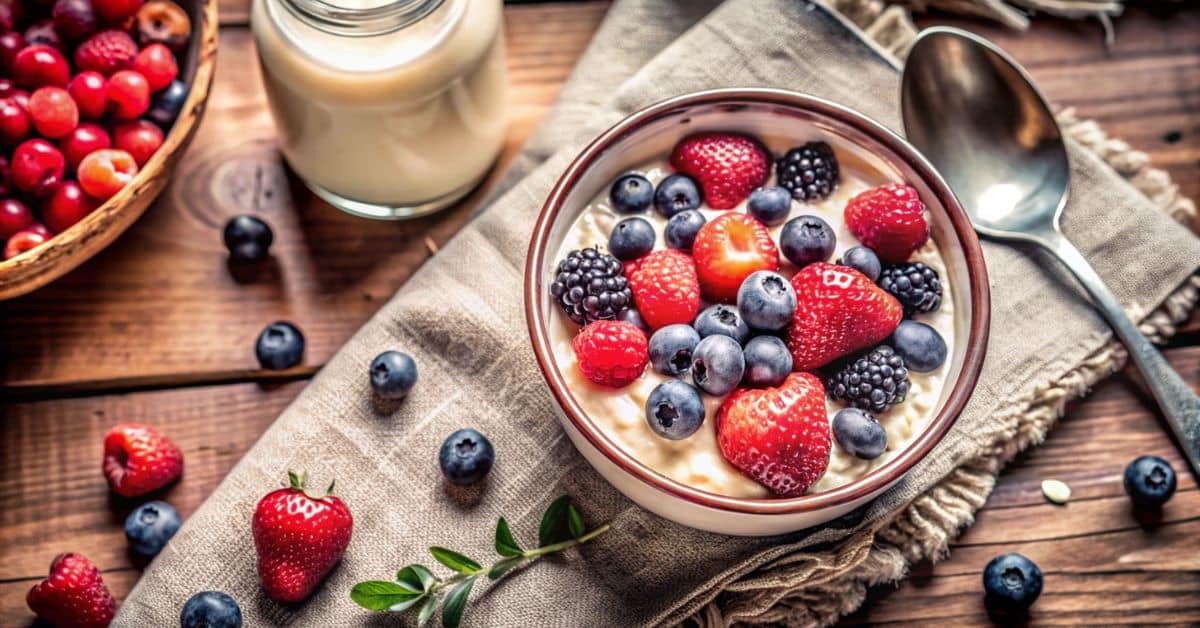
Once it’s cooled, dig in! You can top your pudding with fresh fruit, coconut flakes, or granola for a crunch.
Creative Ways to Serve and Enjoy Dairy Free Pudding
Now that you’ve perfected your dairy-free pudding let’s discuss fun and creative ways to serve it and enjoy it. With some extra thought, you can elevate this dessert for any occasion—and trust me, it’s so easy to do!
1. Mini Parfaits for a Fun Twist
Try layering your pudding in small glasses or mason jars to create mini parfaits for a stylish and fun twist. You can alternate layers of pudding with granola, crushed nuts, or fresh fruit. Not only does this look gorgeous, but it’s also perfect for portion control if you’re serving a crowd!
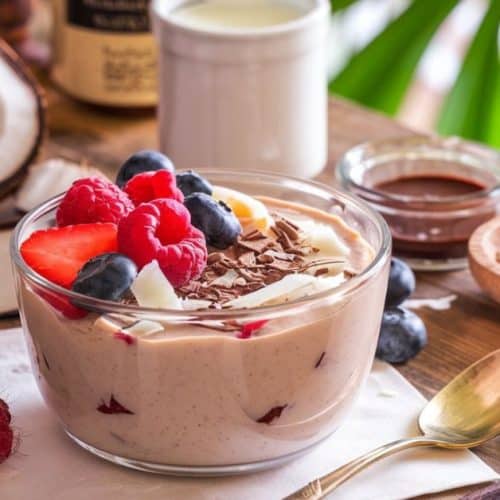
2. Serve It in Cute Cups
Suppose you serve your pudding in cute little cups; you will look amazing, whether they’re simple tea cups, vintage bowls, or clear jars. Do you want to make it extra special? Add a fresh berry or a sprig of mint for a little burst of color and freshness.
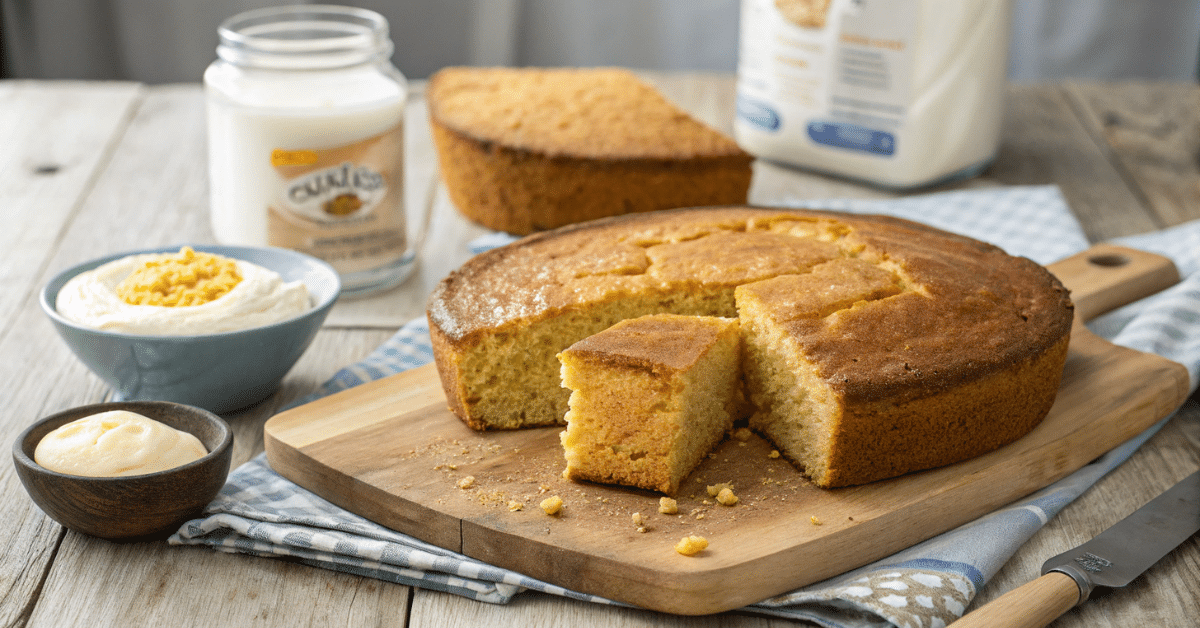
3. With a Cookie or Biscuit on the Side
There’s no better combo than pudding and cookies! Try serving your dairy-free pudding with an almond, oatmeal, or vegan chocolate chip cookie on the side. For a fun twist, dip your cookie straight into the pudding! It’s like pudding meets dessert dip, and it’s delicious.
4. As a Topping for Pancakes or Waffles
Why not serve your dairy-free pudding as a topping for pancakes or waffles? Instead of syrup, use your pudding for a creamy, indulgent breakfast treat (or lunch… or dinner!). Add fresh fruit or a sprinkle of cinnamon for extra flair.
5. In a Chocolate Tart Shell
Pour your homemade dairy-free pudding into a pre-baked tart shell (you can find dairy-free tart shells at most grocery stores). Top it with fruit, shredded coconut, or even a drizzle of chocolate. It’s like a pudding pie, and it’s fantastic!
6. Frozen Pudding Pops
Looking for a refreshing summer treat? Pour your dairy-free pudding into popsicle molds and freeze them for an easy, indulgent dessert-on-a-stick! They’re perfect for hot days, and you can get as creative as you want with add-ins like chopped fruit or chocolate chunks.
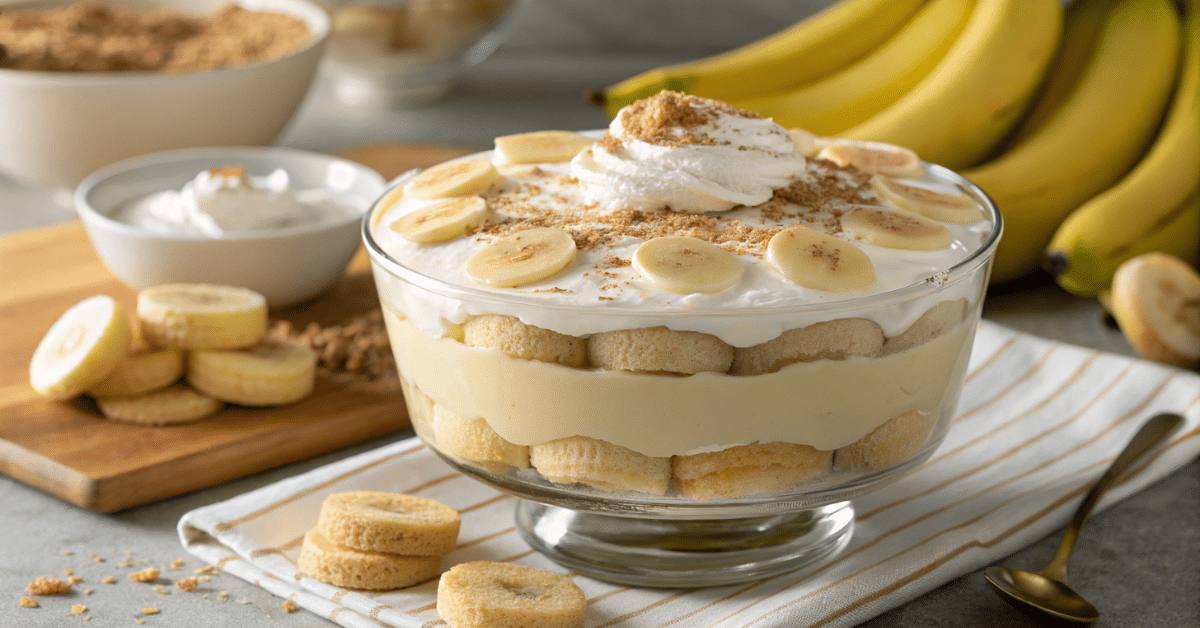
7. Make It a Mini Trifle
Mini trifles are always a crowd-pleaser, making an elegant, layered dessert with minimal effort. Layer your pudding with fruit, vegan cake or sponge, and a dollop of coconut whipped cream. A fun, multi-texture dessert that’s bound to impress any guests.
8. With a Drizzle of Nut Butter
Drizzle your pudding with almond butter, peanut butter, or hazelnut spread for extra richness. The savory contrast adds a bit of protein to the sweet pudding—plus, it’s delicious. Trust me, you’ll love the combination.
Read More: Greek Chicken Orzo Bowl Recipe
Conclusion
Making dairy-free pudding is so simple and fun! You can turn it into something special with just a few ingredients and a bit of creativity. I love how customizable it is, whether you go classic or get creative with flavors and toppings. Trust me, once you try it, you’ll be hooked. So, are you ready to make your delicious dairy-free pudding? I know you’ll love it just as much as I do!
Creamy Dairy Free Pudding
Ingredients
- 2 cups plant-based milk almond, oat, or coconut
- 2 tablespoons cornstarch
- 2-3 tablespoons maple syrup or agave syrup
- 1 teaspoon vanilla extract
- 2 tablespoons cocoa powder optional for chocolate pudding
Instructions
- In a small bowl, mix cornstarch with a few tablespoons of plant-based milk until smooth.
- Heat remaining milk in a saucepan over medium heat with maple syrup.
- Gradually stir in the cornstarch slurry and cook until thickened.
- Add vanilla extract and cocoa powder (optional for chocolate flavor).
- Remove from heat and pour into serving dishes to cool.